If you are trying to find the best paint for cabinets, start with a simple test: can it cure into a hard film, resist grease, and survive daily hand traffic without feeling tacky? In a shop, that matters more than the can label. I care about adhesion, open time, leveling, and how the finish behaves after a year of dish soap, fingerprints, and drawer pulls. For most kitchen and bath projects, the best paint for cabinets is a waterborne enamel or acrylic-alkyd hybrid built for trim and doors, not a standard wall paint.
What the paint has to do
Cabinet paint has a harder job than wall paint. A shaker door gets touched dozens of times a day, and the edge by the sink sees moisture, steam, and cleaning products. The finish has to bridge minor grain, dry smoothly on vertical faces, and cure without blocking when a door closes against a frame. If you want a finish that looks like it belongs in the house for the long haul, skip anything that only says interior latex on the front. Look for trim and cabinet use, strong adhesion, and a hard, washable film. In the shops I trust, the product choice starts with performance, then color. White is easy; a deep green or navy shows every brush mark, so leveling matters even more.
Prep is half the result
The best coating in the world will fail on greasy maple doors or over a dusty factory finish. I tell homeowners to treat prep like part of the paint system, not optional labor. Remove hardware, label doors, degrease with a real cleaner, and scuff sand enough to dull the surface without cutting through the veneer. Fill dents with a two-part filler or a hard drying wood filler, then spot prime bare wood and repaired areas. If the old finish is slick, a bonding primer can save the day. On stained oak, shellac-based primer still earns its keep because it blocks tannins and seals smell better than a weak latex primer. Two thin primer coats usually beat one heavy one.
Sheen and product choices that make sense
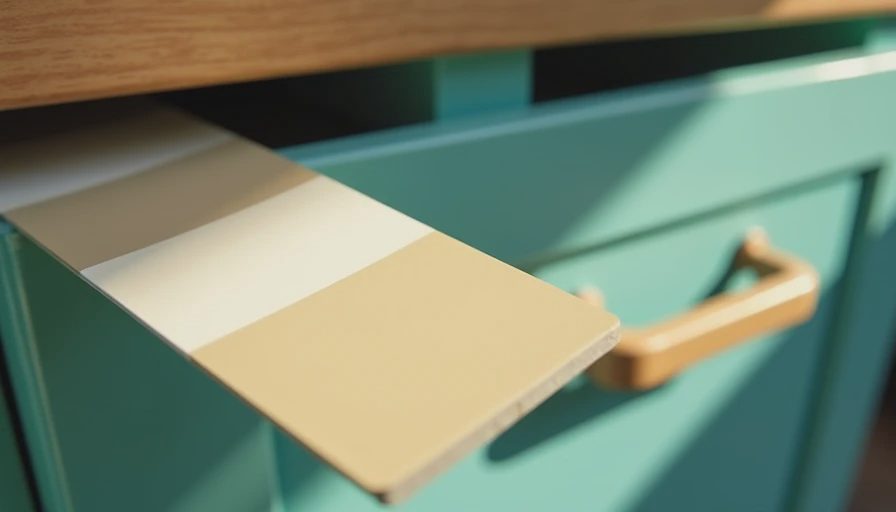
For most homes, satin or semi-gloss is the practical sweet spot. Matte hides more, but it also holds grime and is harder to wipe clean. High gloss looks sharp on a flawless sprayed job, but on a real remodel it can spotlight sanding scratches and seam lines. When clients ask me for the best paint for cabinets, I usually steer them toward products in the cabinet and trim category such as Benjamin Moore Advance, Sherwin-Williams Emerald Urethane Trim Enamel, or INSL-X Cabinet Coat. Those are not magic, and they are not the same thing as lacquer, but they do give a harder, smoother film than plain wall paint. If you are spraying, a waterborne urethane enamel gives a cleaner factory look. If you are brushing and rolling, a slower leveling formula helps the marks relax before it sets.
Application matters more than the can
A cabinet finish lives or dies in the application. Doors laid flat on painter’s pyramids level better than doors hung on hinges while you paint. A high-density foam roller or a quality microfiber roller can work on frames, but only if the paint is tuned for slow leveling and you are not overworking it. One light coat, let it flow, then stop. Heavy passes create ridges that never fully disappear. In the shop, spray equipment like an HVLP or air-assisted gun delivers the cleanest edge on inset doors and built-ins, but you need dust control and a place to let parts cure. Most waterborne enamels feel dry in a few hours, yet they can take a couple of weeks to harden fully. That cure time matters if you are tempted to reinstall doors too soon. Handle them carefully, and keep bumpers on the backs so fresh paint does not weld itself to the frame.
What the numbers usually look like
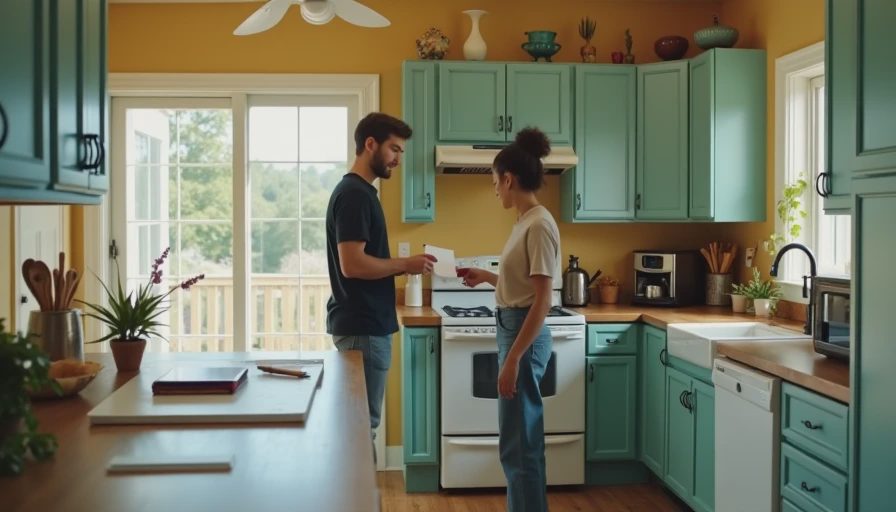
On a typical kitchen repaint, materials alone often land somewhere between $150 and $400, depending on door count, primer, sandpaper, caulk, filler, and topcoat. A single gallon of a premium cabinet enamel can run $60 to $90, and a bonding or stain-blocking primer adds another $30 to $70. A homeowner who already owns a sander, vacuum, brushes, and a good respirator can keep the budget reasonable. Once you factor in professional labor, prices move fast because prep takes time. In the Seattle market I see full cabinet repaints commonly priced in the low thousands for a small kitchen and higher for larger runs or sprayed finishes. Replacing those same boxes with new custom work is a very different budget, which is why a quality repaint is often the smartest bridge move before a bigger remodel. If the boxes are solid and the layout works, finish is the cheapest way to change the room.
Mistakes I see all the time
The most common mistake is using wall paint because the color looked right at the store. Wall formulas are made for coverage, not abrasion, and they soften under cleaning. Another problem is skipping cure time and then blaming the product when a drawer face sticks. I also see people paint over silicone caulk, which causes fisheyes, or skip primer on bare wood and end up with tannin bleed on oak and knotty pine. If you are unsure whether to paint or replace, look at the substrate first. Solid hardwood, plywood box sides, and sound veneer are worth refinishing. Swollen particleboard, broken hinge screw holes, and delaminated edges are a different story. When the structure is good, the right coating can buy you years. When the structure is failing, paint is just a short delay.
For most homeowners, the answer is not the fanciest label on the shelf. It is the product that matches the surface, the prep, and the way the room gets used. If you want a finish that survives breakfasts, dishwashing, and constant fingerprints, choose the best paint for cabinets you can apply correctly, then give it the cure time it needs. That is where the real durability comes from, and it is why a careful repaint can make an older kitchen feel newly built without tearing out a single box. If you are planning a repaint or a bigger built-in refresh, talk to a cabinetmaker who can specify the primer, topcoat, and schedule before the first door comes off.




No comments yet — grab the first one.