I’ve built more than 120 whole-home cabinetry projects out of my shop in Seattle, and the biggest mistake homeowners make isn’t picking the wrong wood or hardware. It’s skipping the layout phase. A room layout planner forces you to think about the space before you fall in love with a paint color or countertop. It’s the difference between a room that looks good in photos and a room that works for the way you actually live. A client once showed me a photo of a six-foot niche; their wall was nine feet. A good planner keeps you honest.
What a Room Layout Planner Actually Does
A room layout planner isn’t just a piece of graph paper, though graph paper is a fine place to start. It’s a way to test every decision in two dimensions before you spend money in three. You’re mapping the floor plan, the furniture, the traffic paths, and the storage zones all at once. I use one before every room design I build. It lets me see where a pocket door will land, where a bookcase should stop so a window stays centered, and where the refrigerator door won’t collide with a drawer pull. I caught a rolling chair hitting a base cabinet in a home office plan last month.
Start With the Furniture, Not the Walls
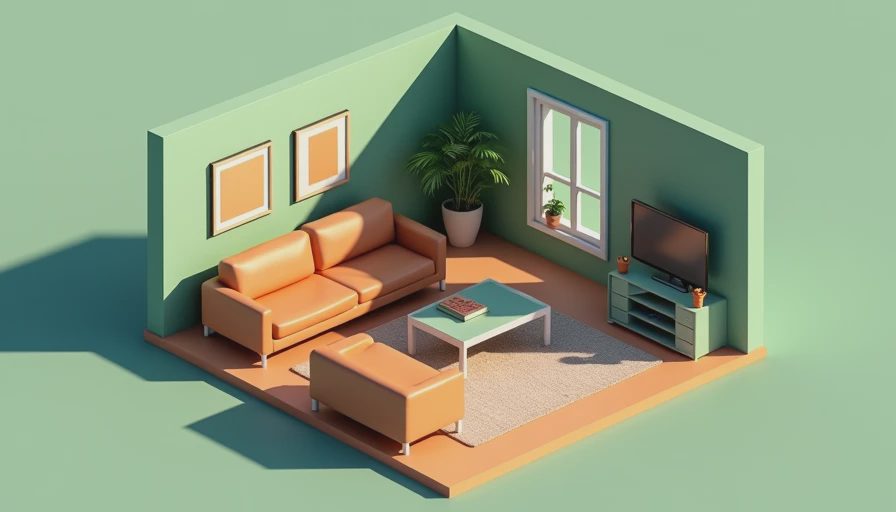
Most people start a room layout by finding the studs or drawing the windows. I start with the furniture that has to fit. A sofa, a bed, a dining table, a desk. Your room layout planner has to account for every piece you plan to keep, plus the clearances around it. For example, a kitchen island needs at least 42 inches on every work side. A hallway behind a bookshelf needs 36 inches so the drawer pulls don’t snag jackets. If you don’t put those numbers on paper, you’re guessing.
Door Swings and Walkways Are the Hardest Part
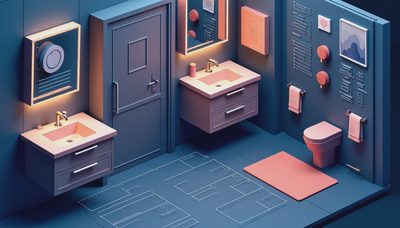
The part that trips up almost every homeowner is the door swing. A floor plan can look perfect on screen, then a bathroom door swings open and blocks the vanity. I teach clients to trace every arc of movement on their planner. You want to draw the radius of each door, each drawer, each appliance. Leave at least 18 inches of landing space on the latch side of a door. In a room with built-in cabinetry, the cabinet doors are just as important as the entry door. A 30-inch-wide drawer stack needs to open fully, or you lose half its value. We measure for that radius every time.
My Room-by-Room Planning Process
Here’s the step-by-step process I use for every client, whether it’s a pantry, a home office, or a full kitchen. First, measure the raw space: walls, ceiling height, windows, doors, and any awkward corners. Second, list the non-negotiable furniture and storage needs. Third, sketch the traffic paths and door swings on a room layout planner. Fourth, place the biggest built-in piece first. That’s usually the wall-to-wall bookcase or the primary cabinet bank. Fifth, check every clearance against the furniture plan. Finally, walk the plan again at night, imagining lights and shadows. That last step sounds strange, but it catches problems. I also tell clients to tape the layout onto the floor with painter’s tape; walking the paths catches mistakes no scale drawing will.
The Tools I Actually Recommend
You can plan a room with pencil and grid paper, and I do for the first pass. But for the final layout, I move to software. SketchUp is the industry standard, and the free web version handles most rooms. RoomSketcher is easier if you’re not trained in CAD. If you want to see how a space feels, use a smart tape measure and model the room in real time. The best room layout planner is the one you’ll actually use, so find the format that doesn’t feel like a chore. The tool matters less than the habit of measuring twice and drawing once.

How Built-Ins Change Your Room Layout
Custom built-ins do something no piece of furniture can: they let you fix the room’s proportions. If the room is too narrow, you can steal two inches from a bookcase to widen the walkway. If the window is off-center, a built-in can frame it so the eye thinks it’s intentional. A room layout planner helps you see those moves before the framing starts. Once you know where the cabinets land, the whole room follows: the outlet heights, the lighting, the baseboard transitions, the door casing. In a living room last year, a two-inch shift aligned the TV cabinet with the ceiling beam; you’d never notice, but the room felt balanced.
Common Mistakes the Planner Catches
Three mistakes show up again and again. The first is the fridge door opening into the main walkway. The second is placing a tall bookcase where it blocks a return vent. The third is a built-in desk with a drawer that hits the baseboard or a radiator. A room layout planner catches all three because you’re forced to trace the actual dimensions, not just the pretty elevation. When I redline shop drawings, I always superimpose the floor plan over the elevation. It’s the same habit you should build on paper.
Start Your Layout Before You Call Anyone
You don’t need a contractor to tell you where the big pieces go. Spend a weekend with a room layout planner and a tape measure. At the very least, you’ll walk into the first quote with clear specs. At best, you’ll have the confidence to argue for the layout you actually want. If that layout results in custom cabinetry, bring it to a cabinetmaker who understands the difference between a drawing and a room. I’d rather build around a good plan than build a good plan around my cabinets.



No comments yet — grab the first one.