Good pantry shelving should make groceries visible, reachable, and easy to put away. It should also account for the odd corner, sloping ceiling, baseboard, plumbing chase, and appliance that makes your house different from a showroom. After measuring more than a hundred whole-home projects, I have found that the best pantry shelving starts with a cut list, not a product search.
A pantry is a working room, even when it is only a tall cabinet beside the refrigerator. Cans, cereal boxes, mixing bowls, wine bottles, paper towels, and small appliances all need different depths. Treating every shelf as identical usually creates wasted space at the back and a cluttered floor below.
Start with the pantry inventory
Before drawing cabinet elevations, measure what you actually store. A shelf for canned food can be 10 to 12 inches deep. Small appliances often need 16 inches, while countertop-height storage for a stand mixer benefits from 20 to 24 inches of clear depth. Going deeper is not automatically better; a 24-inch shelf can turn a jar of tomato sauce into an excavation project.
Group items by frequency and weight. Put daily cereal, coffee, and snacks between 30 and 60 inches above the floor. Reserve lower shelves for cast-iron cookware, bulk flour, and beverage cases. Higher shelves can hold seasonal serving pieces, but I prefer a shallow upper shelf rather than a deep one that requires a step stool and a flashlight.
The door matters as much as the back wall. A 24-inch swinging door can consume valuable circulation space, while a pocket door requires a suitable wall cavity. For narrow pantries, a pair of 15-inch doors often works better than one wide door because the leaves are lighter and less likely to sag.
Choose materials that can take daily use
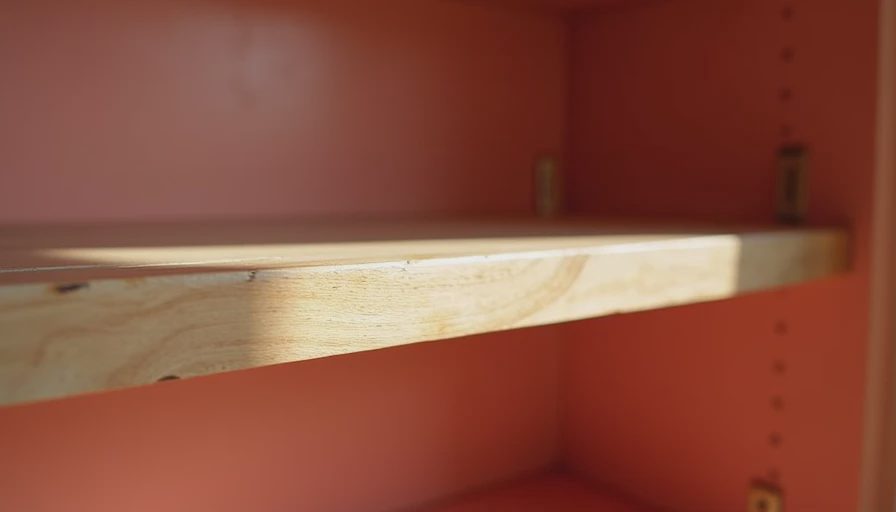
For painted pantry shelving, I typically specify 3/4-inch moisture-resistant medium-density fiberboard for fixed shelves and cabinet parts. It machines cleanly, paints smoothly, and stays stable in the temperature swings common near kitchens. A solid hardwood front edge, usually maple or poplar under paint, keeps a long shelf from looking soft and protects the edge from baskets and cans.
If the pantry will have a natural finish, 3/4-inch veneer plywood is the more practical core. Baltic birch plywood has consistent plies and clean exposed edges, while maple or white oak veneer gives the visible surfaces the appearance homeowners expect from a custom kitchen. A 1-millimeter hardwood edge band is worth specifying; thin paper edging wears quickly at the front of a busy shelf.
Fixed shelves should not span long distances without support. At roughly 30 to 36 inches, shelf deflection becomes a concern when the load is heavy. A vertical divider, hardwood nosing, or concealed steel support can solve the problem. Pantry shelving that looks straight on installation day can sag noticeably after several years of canned goods if the span was guessed instead of engineered.
Plan the layout around reach and visibility
A useful pantry shelving plan usually has three zones. The lower zone, from the floor to about 30 inches, handles heavy and bulky items. The middle zone is the primary work area. The upper zone stores occasional-use pieces. This arrangement is simple, but it prevents a common mistake: designing a beautiful elevation that ignores how a person bends, reaches, and carries groceries.
Corners deserve special attention. A fixed corner shelf often leaves a dark triangular area where food disappears. A diagonal corner with a clear front is easier to use, and a properly sized pull-out can make the entire depth accessible. Pull-outs are not magic, though. They reduce usable width and add hardware cost, so I use them where access is genuinely difficult rather than installing one in every opening.
If the pantry includes countertop space, allow outlets before the cabinet drawings are finalized. A counter-height shelf for a toaster oven, espresso machine, or mixer needs ventilation and an electrical plan. Leaving those decisions until after installation can mean cutting visible panels or running a cord across a doorway.
Hardware determines whether storage feels custom
Basic adjustable shelf pins are still a good choice for most pantry shelving. A row of 5-millimeter holes lets shelves move as storage changes, and clear shelf clips prevent accidental lifting. For tall, narrow compartments, full-extension drawer boxes are easier to use than fixed shelves because the contents come forward instead of hiding behind one another.
For pull-outs, I prefer full-extension undermount or side-mount slides rated for at least 100 pounds when the compartment will carry bottles or appliances. Blum and Accuride both make dependable hardware lines, but the exact model should match the cabinet construction and opening width. Soft-close action is pleasant, although it does not compensate for a poorly sized or overloaded drawer.
Door hinges need equal care. A tall pantry door can weigh more than expected once it has a mirror, solid wood panel, or storage rack attached. Three or four concealed hinges may be appropriate where two would allow the door to drift out of alignment. Good hardware is a repair-prevention decision, not a decorative upgrade.
Understand the cost before ordering
A small modular pantry system can start around $500 to $1,500 for components, depending on size and finish. It is a sensible solution for a straight, accessible wall where standard widths fit. IKEA and similar systems offer useful value, especially when a homeowner is comfortable assembling cabinets and accepting filler panels or exposed adjustment details.
Custom pantry shelving commonly begins around $3,000 to $6,000 for a compact built-in and can reach $10,000 or more when the project includes multiple walls, painted doors, drawers, lighting, and complex trim. In Seattle and other high-cost markets, labor, finishing, delivery, and site conditions can push the number higher. The cost is not only the boards; it is the survey, shop drawings, edge treatment, installation, and fitting around an imperfect house.
The best place to spend money is usually the part you touch most. Add drawers at waist height before upgrading every shelf to exotic wood. Spend on durable paint and accurate installation before decorative corbels. A clear brief helps a cabinetmaker price the useful features rather than guessing what “custom” means.
A practical process from measurement to installation
Start by photographing every wall, outlet, trim condition, and obstruction. Measure width at the floor, counter, and ceiling because walls are rarely parallel. Record the largest item that must enter the room, including a stand mixer, stockpot, or wine crate. Those dimensions become the limits of the design.
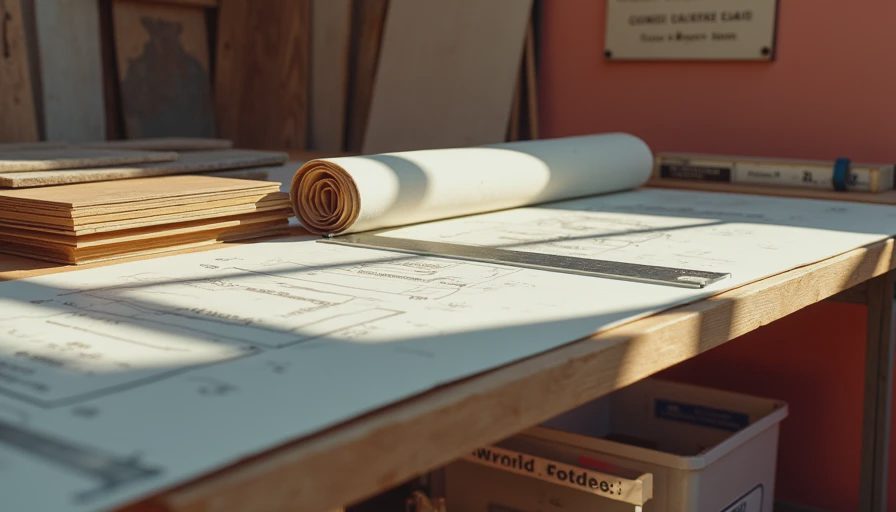
Next, create a simple elevation showing shelf heights, door swings, drawer fronts, and clearances. Ask for material thicknesses, edge profiles, hardware brands, finish samples, and a line-item price. A credible shop should be able to explain why a shelf is fixed, why a pull-out is included, and where fillers will land.
During installation, verify that the cabinet is scribed to the wall rather than forced into place with oversized gaps. Scribed fillers, level shelves, and consistent reveals are what make pantry shelving look as though it grew out of the house. The final test is ordinary: open the doors with full hands, reach the back of each shelf, and put the groceries away without moving three other things first.



No comments yet — grab the first one.