A media console is rarely just a stand for a television. It is a piece of cabinetry that has to manage wires, receivers, game systems, remotes, speakers, books, and the visual weight of a large black rectangle. After building more than 120 whole-home cabinetry projects, I have found that the successful designs begin with the wall, not the screen. Measure the room, understand how the equipment will be used, and only then decide whether a freestanding cabinet or a built-in makes sense.
The first decision is proportion. A television usually looks more settled when the media console is at least as wide as the screen and preferably wider by 12 to 24 inches overall. For a 65-inch television, that often means a cabinet between 72 and 84 inches wide. Height depends on seating, but the center of the screen should generally land near seated eye level. A 20- to 28-inch-high cabinet works well in many living rooms, while a low 16-inch unit creates a more contemporary, gallery-like composition.
Depth deserves equal attention. A shallow 14-inch cabinet can hold a soundbar, streaming box, and small game console, but an AV receiver can require 18 to 22 inches after allowing room for cables and ventilation. I draw the deepest component at full size in the shop drawing, then add clearance behind it. Guessing from the product box is how doors end up hitting plugs and equipment gets shoved forward.
Freestanding or Built-In Media Console?
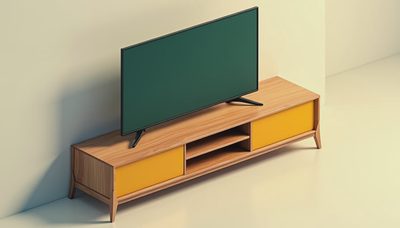
A freestanding media console is the sensible option when you rent, rearrange furniture often, or want to take the piece with you. IKEA, Room & Board, and local furniture makers all offer useful starting points at different price levels. A well-designed freestanding unit can cost from $600 to $3,000 depending on material, hardware, and construction. It does not need to apologize for being furniture.
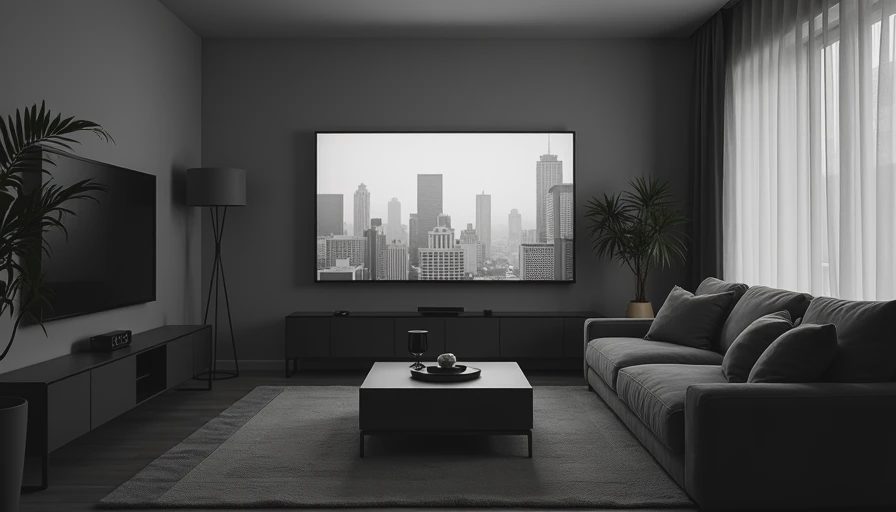
A built-in media console earns its cost when the wall has awkward corners, uneven baseboards, or extra storage needs. I have built units that run wall to wall, with drawers below and adjustable shelves above, as well as compact cabinets that tuck beneath a fireplace surround. The cabinet can hide outlets, align with adjacent bookcases, and make a television appear intentional rather than parked on a wall.
Custom work typically starts around $4,000 for a simple painted cabinet and can reach $12,000 or more for a long run with premium veneer, integrated lighting, specialty hardware, and extensive site work. That price includes design time, shop drawings, finishing, delivery, and installation. Comparing it with a $900 furniture piece without comparing what each one has to do is not useful.

Materials That Hold Up to Daily Use
For painted cabinetry, I usually specify 3/4-inch maple plywood for the cabinet boxes and a durable two-part or high-quality conversion varnish finish on the exposed parts. Medium-density fiberboard, or MDF, is excellent for painted doors because it machines cleanly and remains stable, but it should not be left vulnerable to standing water or careless mopping.
For a wood look, quarter-sawn white oak, rift-sawn white oak, walnut, and maple are all strong choices. Rift-sawn white oak gives a quiet, linear grain that suits modern interiors. Walnut brings more contrast and warmth, while quarter-sawn white oak has a distinctive fleck that changes as light moves across the room. Veneer over a stable plywood core is not an inferior shortcut; it is often the correct material for wide panels that need to remain flat.
The high-touch details matter. Use soft-close undermount drawer slides rated for the load, not the lightest hardware available. Blum and Salice both make dependable concealed hinges and drawer hardware. For adjustable shelves, use metal shelf pins in a regular system rather than relying on a single fixed shelf to carry every component.
Plan Heat, Airflow, and Wiring Before Installation
Electronics create heat, and a closed cabinet can trap it. A media console should include ventilation at the rear or through discreet slots in the top and bottom. If an AV receiver sits behind a door, leave breathing room around it and use a perforated or slatted panel. Infrared-friendly mesh can allow a remote to operate equipment without leaving the cabinet open.
Wire management is easier when planned in the cut list. I prefer large cable pass-throughs rather than tiny holes that force every connector to be removed before a component can move. A rear service chase can keep HDMI, speaker, Ethernet, and power cables separated. Never run line-voltage power cords through a hole intended only for low-voltage signal cable; use an electrician when a new receptacle or in-wall cable route is needed.
Do not mount a heavy television to a thin cabinet back. The wall structure and the television mount carry that load. The media console should provide a visual base and storage, while the mounting hardware should be secured to appropriate studs or blocking.
Storage Layout That Does More Than Hide Clutter
Start by listing what the room actually contains. One drawer may hold remotes and batteries. Another may store controllers, headphones, and charging cables. Open shelves can display books or ceramics, while doors hide the router, backup drives, and equipment that does not deserve attention. A pair of wide drawers is often more useful than six narrow ones because it accommodates bulky items without wasting side walls.
If children use the room, avoid making every shelf precious. Give the design one durable, easy-to-reach zone for games and controllers. If the room doubles as a home office, add a shallow drawer for a laptop and a concealed outlet for charging. If the console sits below a window, verify that the cabinet will not block trim, curtains, or a baseboard heater.
A useful arrangement is a central open bay for the receiver and game system, drawers on one side, and adjustable closed storage on the other. This creates visual balance without forcing identical functions into symmetrical compartments. Function should dictate the interior; symmetry can follow afterward.
The Cost Decisions I Explain in the Shop
The largest price difference usually comes from labor and finish, not from adding one more shelf. A simple slab-door painted cabinet takes less time than a flush-inset walnut unit with mitered door frames. Flush inset construction can look excellent, but it demands tighter tolerances and more adjustment during installation. Overlay doors are a practical choice when budget or schedule matters.
Hardware is another honest trade-off. Basic side-mount slides might save several hundred dollars across a project, but undermount soft-close slides improve access and feel every time the drawer opens. A premium finish costs more because the parts require careful preparation, sanding, spraying, curing, and inspection. Those are not decorative luxuries; they determine how the cabinet looks after years of use.
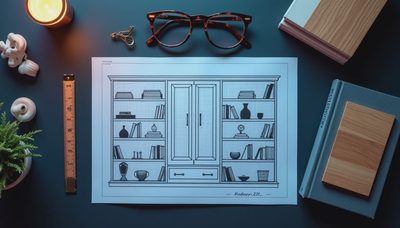
Before approving a quote, ask for the material specification, finish system, hardware brand, cabinet construction, and installation scope. A media console priced unusually low may be using thinner panels, fewer finish coats, or a simpler interior than you expected. A clear shop drawing is more valuable than a glossy rendering because it shows dimensions, doors, drawers, outlets, and service access.
A Practical Design Sequence
Measure the wall at the floor, counter height, and ceiling because older homes are rarely perfectly square. Record baseboard height, outlet locations, window trim, and the television mount position. List every component, including its width, depth, height, power connection, and ventilation requirement.
Then choose the visual language: painted MDF doors, natural veneer, solid wood accents, open shelving, or a combination. Confirm the cabinet depth against the deepest component and allow room for plugs. Draw the elevations before selecting handles or decorative details. Finally, review how the cabinet meets the wall, floor, baseboard, and neighboring trim.
The best media console disappears into the architecture while making the room easier to live in. It does not need to look expensive from across the room. It needs doors that stay aligned, drawers that glide, ventilation that works, and enough service access that replacing an HDMI cable does not become a Saturday demolition project. If your wall has unusual dimensions or the room needs several kinds of storage, a custom cabinetmaker can turn those constraints into the organizing logic of the design.

No comments yet — grab the first one.