The best built in bookshelves look as though the architect drew them with the walls, not added them after the drywall was finished. They solve a practical storage problem while giving a room its visual center. After building more than 120 whole-home cabinetry projects around Seattle, I have learned that the difference between convincing built-ins and expensive furniture is usually decided before the first board is cut.
Start with the wall, not the book collection
Before choosing a finish or sketching decorative trim, measure the wall in three places: near the floor, at eye level, and close to the ceiling. Houses move. Floors slope, corners are rarely square, and drywall can vary by half an inch across a long run. Built in bookshelves should be designed around those facts rather than forced into a perfect rectangle on paper.
I also mark every outlet, heating register, baseboard, window casing, and switch. A low outlet hidden behind a fixed cabinet is an annoyance; a blocked return-air grille can affect how a room heats. In one older Seattle home, the wall appeared empty until we found a plumbing vent inside the proposed bookcase zone. The final design used a removable back panel and a deeper lower cabinet, preserving access without sacrificing the composition.
Decide what the shelving must hold. Standard hardcovers need roughly 10 to 12 inches of depth, while art books, records, baskets, and board games often need more. Adjustable shelves make the case useful over time, but too many holes can make a painted interior look busy. I usually use a restrained row of shelf-pin holes and place fixed shelves where they provide structural support.
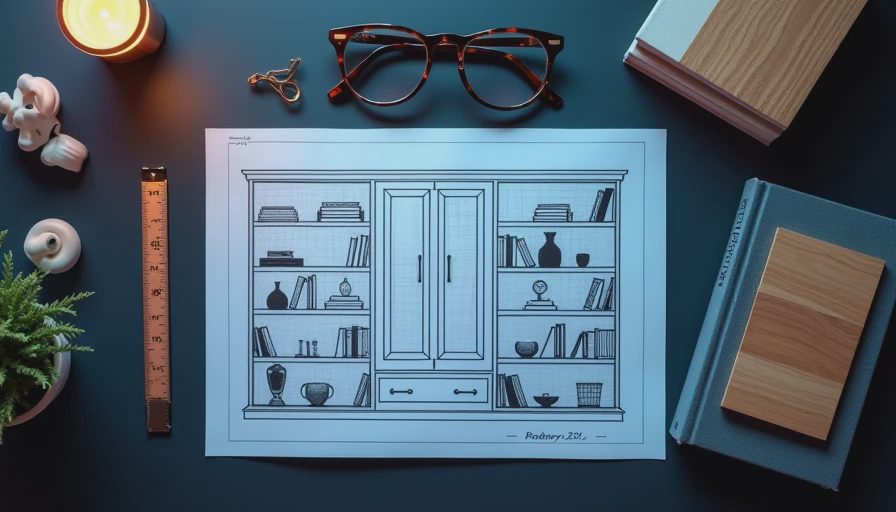
Materials that earn their place
For painted built in bookshelves, I commonly specify 3/4-inch MDF for face frames, end panels, and shelves when the design has a traditional profile. MDF machines cleanly, has no visible grain telegraphing through the paint, and produces crisp routed edges. It is heavy, however, and it does not tolerate repeated water exposure. In a dry living room, that trade-off is sensible. In a basement or mudroom, I would look harder at plywood construction.
A cabinet-grade birch plywood core with a hardwood veneer is a strong choice for modern shelves. Baltic birch has more plies and better screw-holding behavior than inexpensive construction plywood, though full sheets can cost more and are not always stocked locally. For a white oak interior, quarter-sawn or rift-sawn veneer creates a calmer grain pattern than plain-sliced oak. The material choice affects not only price but also how the room feels when sunlight moves across it.
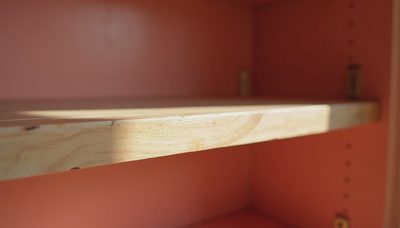
Shelf thickness matters. A 3/4-inch shelf spanning 36 inches can sag under a serious row of books. I prefer a solid hardwood nosing, a thicker laminated shelf, or an engineered shelf with an internal stiffener for long spans. The front edge does the visual work, but the hidden structure prevents the slow bow that makes a new installation look tired after a few years.
Hardware deserves the same attention. Blum soft-close hinges are dependable for lower doors, and Salice is another reputable option. For wide drawers, full-extension undermount slides provide better access than short side-mount slides. These details are not decoration; they determine whether the cabinetry still feels precise after thousands of openings.
What built in bookshelves cost
A short, simple painted run with open shelves may begin around $3,000 to $6,000 when the wall is straightforward and installation is local. A full-wall project with lower cabinets, doors, lighting, crown molding, and site-built scribing can reach $10,000 to $20,000 or more. Premium hardwood veneer, intricate trim, integrated media equipment, and difficult access push the figure higher.
The cabinet boxes are only part of the estimate. A professional quote also accounts for design time, shop drawings, material waste, finishing, delivery, installation, wall preparation, and touch-up work. If a room needs electrical changes, plaster repair, or floor removal, those trades may be separate. Ask whether the estimate includes paint-grade finish, hardware, delivery, and final caulking. Comparing only the price per linear foot hides too much.
There is a useful middle ground between factory furniture and fully custom work. A modular carcass can control cost while custom fillers, face frames, and trim make the installation fit the room. IKEA has a legitimate place for budget storage and temporary solutions. The problem comes when someone expects a flat-pack box to behave like cabinetry scribed to a crooked wall without paying for the labor that creates that result.
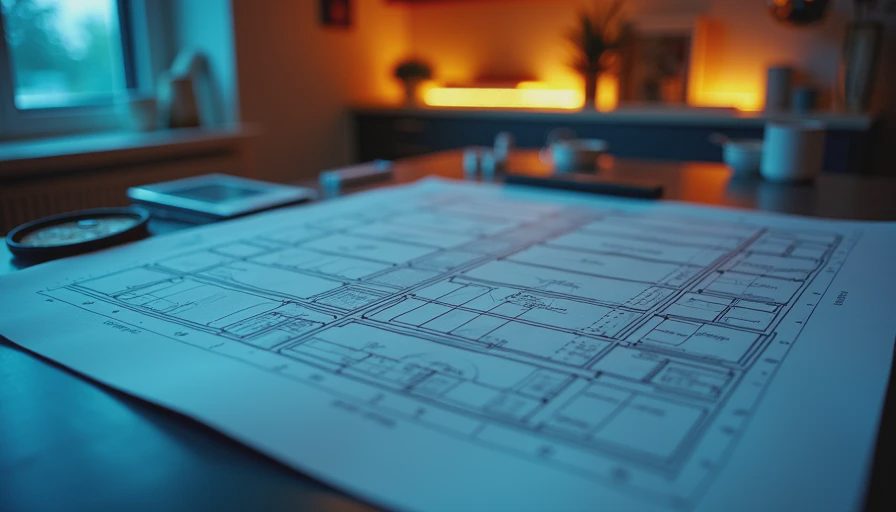
Design details that prevent visual clutter
Symmetry is helpful, but it is not mandatory. If a fireplace, doorway, or window sits off-center, forcing identical bays can make the entire wall feel awkward. Built in bookshelves can balance an irregular room with a wider cabinet on one side, a vertical section for art on the other, and a consistent top line tying everything together.
Keep the lower portion practical. Closed cabinets conceal routers, toys, paperwork, and cables that do not deserve display space. A 24- to 30-inch-high base cabinet often provides a comfortable visual break between storage and shelving. For media walls, include ventilation and a removable panel for equipment access. Do not bury a power strip behind a fixed back and hope you never need it.
Lighting should be planned before fabrication. Warm LED tape in an aluminum channel can wash the shelf backs without showing individual dots. A dedicated transformer needs a serviceable location, and wiring should be coordinated with the electrician before the cabinets arrive. I generally prefer lighting around 2700K to 3000K in living spaces because it works with wood and painted finishes without looking blue.
The installation checklist
Start with a measured drawing that includes ceiling height, wall width, baseboard thickness, and every obstruction. Confirm which shelves are adjustable and which are fixed. Review door swings, drawer clearances, outlet access, and equipment ventilation. Then approve a finish sample under the room's actual lighting, not only under a shop's bright overhead fixtures.
During installation, the cabinetmaker should level the bases, scribe fillers to the walls, fasten units into solid structure, and install trim after the main cases are secured. A clean scribe is one of the marks of quality: it closes the gap against an uneven wall without relying on a thick bead of caulk. On painted work, caulk should seal a joint, not disguise a measurement error.
Finally, plan how the shelves will be loaded. Put the heaviest books on fixed or lower shelves, leave some open space, and use baskets where small items collect. Built in bookshelves work best when display and concealment are designed together. The result should hold real life, not merely photograph well on installation day.
If you are collecting quotes, bring a simple list of what must be stored, a few room photographs, and the wall measurements. A good cabinetmaker can then explain where custom labor matters, where a standard component is perfectly adequate, and which upgrades will still be useful ten years from now.


No comments yet — grab the first one.