A media cabinet has to do more than hold a television. It needs to manage cables, speakers, game consoles, remotes, books, and the visual weight of a large black rectangle without making the room feel like an electronics showroom. After building whole-home cabinetry for nearly two decades, I have found that the best media cabinet is designed around the room first and the screen second. That means measuring sightlines, wall width, outlet locations, and the equipment you actually own before choosing doors or finish.
A freestanding piece can be the right answer for a rental, a smaller budget, or a room that changes often. A built-in makes more sense when you want storage to run wall to wall or need to correct an awkward fireplace, low ceiling, or off-center outlet. Neither option is automatically better. The joinery, proportions, and access behind the doors determine whether the result feels intentional.
Start With Proportions, Not the Television
The common mistake is buying a screen and then squeezing a cabinet underneath it. Begin by drawing the entire wall elevation. Note the ceiling height, baseboard profile, windows, doors, fireplace opening, and the distance from the main seating position. A 65-inch television is roughly 57 inches wide, while a 75-inch model is close to 65 inches wide. Your cabinet should usually extend beyond the screen on both sides, even if that overhang is only 4 to 8 inches per side.
For a balanced composition, I often start with a cabinet 72 to 96 inches wide and 18 to 24 inches deep. The finished height depends on the screen and seating, but keeping the center of the screen near eye level is more comfortable than mounting it high above a mantel. If the cabinet includes open shelves, use them sparingly. A run of adjustable shelves can display books and objects, while closed storage hides controllers, cables, and the inevitable collection of charging bricks.
Do not ignore viewing distance. A cabinet that looks elegant on a shop drawing can dominate a narrow living room when it is 24 inches deep. In tight spaces, 16 to 18 inches is often enough for a receiver, soundbar, and streaming box.
Choose Materials That Earn Their Space
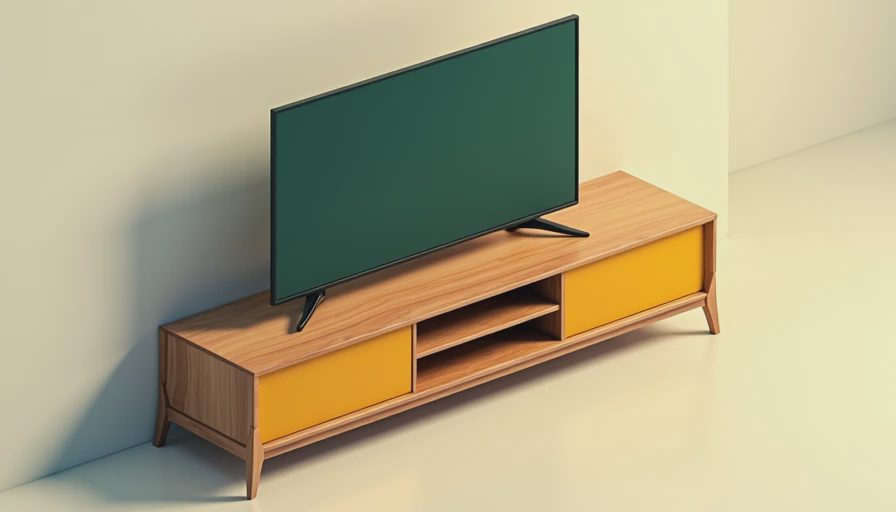
Material selection affects appearance, durability, and price more than most decorative details. For painted cabinetry, I typically specify 3/4-inch paint-grade maple plywood for the box and MDF or paint-grade hardwood for doors, depending on the profile. MDF makes a very clean painted door because it has no open grain, but it is not the material I want near a damp floor or an unprotected exterior edge.
For clear finishes, quarter-sawn white oak, walnut, and rift-sawn oak are dependable choices. Rift-sawn oak gives you a quiet, linear grain that works well across wide doors. Walnut costs more than oak, but a modest walnut media cabinet can be more effective than covering an entire wall in walnut veneer. Use real veneer on stable plywood rather than a thin decorative sheet over particleboard when the piece is intended to last for decades.
The edge treatment matters. A solid hardwood lipping on a plywood shelf resists everyday bumps better than an exposed veneer edge. On a painted project, a 1-millimeter PVC edge can be practical inside a cabinet, but I prefer hardwood or a properly sealed MDF edge where it remains visible. These details are small on a sample, yet they are what you notice after years of cleaning and use.
Plan Heat, Wiring, and Service Access
Electronics produce heat, and a sealed media cabinet can trap it. Leave ventilation space around receivers, amplifiers, and game consoles according to the equipment manufacturer’s requirements. A perforated back panel, cable grommets, and discreet ventilation slots can keep air moving without turning the front into a grille. Do not place a power strip loose behind a drawer where it can be pulled into moving hardware.
I like to divide a media cabinet into equipment bays rather than one oversized cavity. One bay can hold a receiver, another a console, and a third can remain flexible. Use adjustable shelves with front edges thick enough not to sag. Provide a removable back or generous access opening so equipment can be replaced without dismantling the cabinet. Labeling the cable paths during installation saves considerable frustration later.
Power and low-voltage cabling should be planned before drywall or cabinetry installation. A cabinetmaker can cut openings, but only a qualified electrician should alter household wiring. If you are mounting the television above the cabinet, install a conduit or chase between the screen and equipment area. That simple decision keeps future HDMI upgrades from becoming a wall-repair project.
Built-In or Freestanding: Make the Choice Deliberately
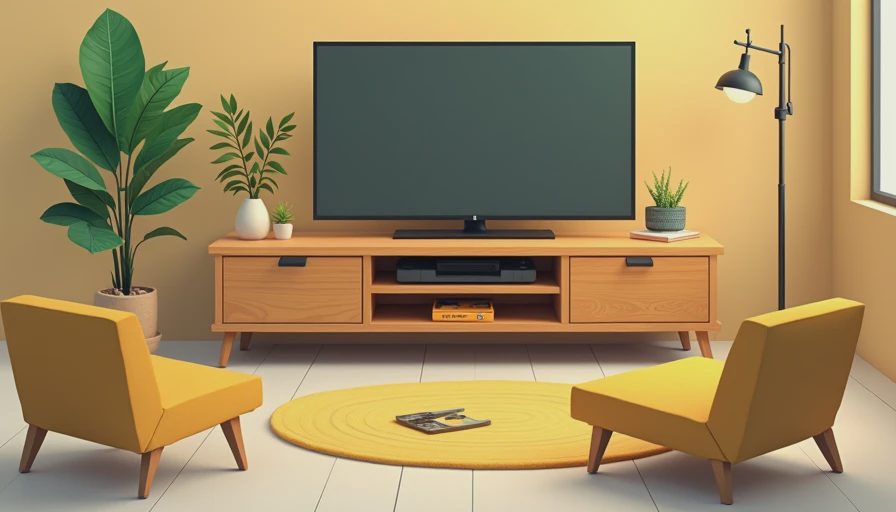
A freestanding media cabinet gives you flexibility. You can move it, refinish it, or take it with you. It also avoids the cost of scribing fillers to uneven walls. IKEA and other ready-made systems can be sensible when the dimensions work and the budget is limited. I would rather see a homeowner use a well-fitted modular piece than spend money on custom doors while ignoring ventilation and cable access.
A built-in is justified when it solves several problems at once. It can conceal an uneven wall, provide bookshelves at each side, integrate a fireplace surround, or use the full height of a room. The cabinet should not simply be a large box pushed against drywall. Scribed end panels, furniture-grade toe kicks, consistent reveals, and a planned transition to baseboard are what make it look original to the house.
For older Seattle homes and other houses with settling, I allow for walls that are not straight. A fixed cabinet installed tight to a wavy wall will show gaps. Scribe strips and adjustable fillers absorb those differences while preserving a clean front elevation. That is practical millwork, not decoration.
Understand the Cost Before You Draw Details
A simple freestanding media cabinet from a manufacturer may cost several hundred dollars. A custom piece using painted plywood, basic slab doors, and a few adjustable shelves commonly starts in the low thousands once design, delivery, and installation are included. A wall-to-wall built-in with solid wood veneer, drawers, lighting, specialty hardware, and architectural fillers can reach $8,000 to $20,000 or more depending on size and site work.
The cost is usually driven by labor, finish quality, hardware, and installation complexity rather than the wood alone. Soft-close concealed hinges from Blum or Salice add useful control without being showy. Full-extension drawer slides improve access but require accurate box construction. Integrated LED lighting, lift mechanisms, tambour doors, and motorized TV mounts each add design and installation time.
If the budget is tight, simplify the shape before downgrading the structure. Choose paint-grade maple plywood, fewer drawers, standard hinges, and a straightforward finish. Keep the cabinet shallow and invest in accurate installation. A plain, square media cabinet with consistent gaps will age better than an elaborate piece made from unstable materials.
A Practical Design Process
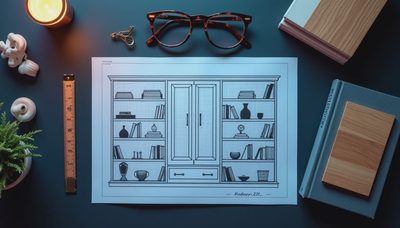
Start with an equipment list, including dimensions, ventilation needs, and future additions. Photograph every wall outlet, coax connection, speaker wire, and baseboard before the design meeting. Decide whether the television will sit on a stand or mount to the wall. Then sketch the elevation at scale, marking door widths, shelf openings, and cable routes.
Ask for a shop drawing that shows the front, side, and section views. The section should reveal cabinet depth, back-panel access, wall attachment, ventilation, and the relationship to the floor. Confirm the finish sample in the room’s actual light; oak veneer can look dramatically different beside warm flooring than it does under a showroom’s cool LEDs.
A well-designed media cabinet should make the technology disappear without making service impossible. When the proportions suit the architecture, the materials are stable, and every cable has a planned route, the result becomes useful storage first and an entertainment center second. That is the standard I would use for any built-in intended to stay with the house.


No comments yet — grab the first one.