Wall shelves are often treated as a weekend purchase: find a board, add two brackets, and call the storage problem solved. That works in some rooms. In a well-finished home, however, shelves need to relate to the wall, the trim, the furniture, and the things they carry. After 19 years in cabinet shops, I have seen inexpensive shelves succeed because they were properly proportioned, and expensive ones fail because nobody measured the wall first.
Start With the Wall, Not the Shelf
Before choosing a material, locate the studs and inspect the wall surface. A 36-inch shelf loaded with books can put substantial leverage on its fasteners. Drywall anchors are useful for light objects, but they are not a substitute for structural attachment when the shelf will hold pottery, appliances, or a row of hardcovers. At our Seattle shop, we mark stud locations on the elevation drawing before deciding where the shelf divisions go.
Measure the finished wall from baseboard to ceiling, then subtract the visual space required around doors, windows, and light switches. A shelf that ends two inches from a casing often looks accidental. One that aligns with the casing edge or stops at a deliberate distance looks designed. Wall shelves should also clear furniture below them. In a living room, 18 to 24 inches above a console is a useful starting point; above a desk, allow enough room for a monitor and task lighting.
The other early decision is depth. Eight inches works for framed photographs and small ceramics. Ten to 12 inches handles most books and serving pieces. Going deeper than 14 inches turns a shelf into a ledge that collects clutter unless the room truly needs that capacity.

Materials That Earn Their Place
Solid wood is attractive, repairable, and dimensionally active. A 10-inch-wide solid oak shelf can expand and contract across its grain with seasonal humidity changes. That movement is normal, but a fixed installation must allow for it. I prefer quarter-sawn white oak when the budget supports it because the grain is stable and the ray fleck gives a quiet, furniture-like surface.
Paint-grade maple plywood is another strong choice, especially for long wall shelves. Use a quality seven- or nine-ply sheet with a consistent core, not thin utility plywood with voids. A 1-inch finished thickness is a good visual baseline. For spans over 30 inches, either increase the thickness, add a concealed steel support, or break the run with a vertical divider. Sag is not a style issue; it is a predictable result of span, load, and material.
MDF works well for painted shelves because it machines cleanly and has no visible grain. It is heavier than plywood and vulnerable to swelling if water reaches an unfinished edge. In a bathroom, I would use moisture-resistant MDF with a fully sealed finish, or move to plywood with a durable two-part coating. Wall shelves near a kitchen sink deserve the same caution.
Brackets, Cleats, and Concealed Support
Visible brackets can add character, but they need to be sized for the shelf rather than selected as decoration. Steel brackets from makers such as Federal Brace or heavy-duty options from Rockler can support serious loads when attached correctly. A bracket should generally extend deep enough beneath the shelf to resist tipping, and the fastener pattern should connect to studs wherever possible.
A French cleat is an excellent option for a floating installation. One half is secured to the wall, preferably across several studs, while the matching bevel on the shelf or backer locks over it. This spreads load across a broader area than two small anchors. For a clean run of wall shelves, I often use a continuous plywood cleat hidden behind a thicker front rail.
True floating shelves require more than a short metal pin glued into the back. A welded steel frame, properly sized concealed rods, or a substantial rear cleat provides the resistance the installation needs. Ask for the support detail, not just a photograph of the finished shelf. The hardware is where the safety and longevity are decided.
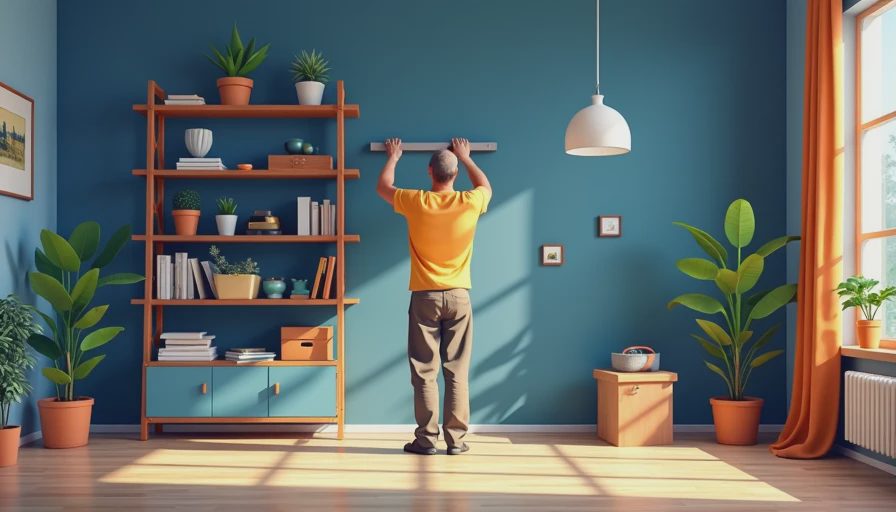
Designing a Run That Looks Custom
Repetition creates order, but perfect repetition is not always the answer. In a home office, three shelves at 12-inch vertical intervals may hold books and baskets efficiently. In a living room, varying the heights to accommodate a large vase, a record player, or artwork can feel more natural. Start with the objects you actually own rather than drawing evenly spaced lines and hoping they work later.
Wall shelves look especially intentional when they share an alignment with nearby architecture. Line their ends with a door casing, center them on a window, or carry a run from the edge of a fireplace surround. If the wall is wide, consider side panels or a shallow vertical cabinet at one end. That small amount of enclosure gives the arrangement a stopping point and prevents the shelves from floating visually.
For books, allow roughly 10 to 13 inches of clear height, with a few taller openings for art books and binders. For kitchen storage, 14 inches is often more practical, but keep the front edge easy to wipe. In a bathroom, reduce depth and leave enough clearance for mirrors, sconces, and cabinet doors.
Finish, Edge Detail, and Cost
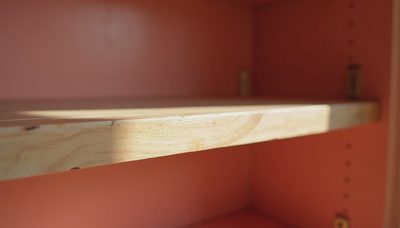
The front edge is what your hand and eye notice first. A solid wood lipping on plywood can look crisp and withstand bumps. A simple eased edge removes the sharp corner without making the piece look ornate. For painted shelves, a 1/8-inch roundover accepts primer well and is less likely to chip than a knife edge.
For a small, painted pair of wall shelves, materials and hardware might begin around $150 to $300 before labor. A custom oak installation with concealed supports, scribed end panels, and site finishing can run from $1,200 to $3,000 or more, depending on length and complexity. That difference is not simply a markup. It includes material quality, shop finishing, field fitting, blocking, and the time required to make an old wall look straight.
Brands such as Benjamin Moore and Sherwin-Williams offer durable cabinet-grade paint systems, but the finish depends heavily on preparation. Sanding between coats, sealing end grain, and allowing proper cure time matter more than choosing a fashionable color. Natural wood should receive a finish appropriate to the room, such as a waterborne polyurethane for regular handling.
A Practical Installation Sequence
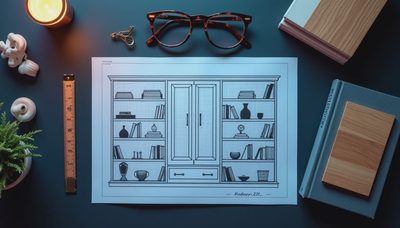
Draw the wall elevation first, including trim, outlets, furniture, and the objects the shelves must hold. Mark every stud, then select the support method. Build or order the shelf components, dry-fit them, and check that the wall is plumb. Older houses frequently have walls that wander; scribing a side panel or back rail is cleaner than forcing a straight shelf against a crooked surface.
Install the cleat or brackets level, but do not assume the floor is level enough to use as a reference. Shim where necessary, then test the empty shelf before loading it. Put the heaviest items near the supports and lower on the arrangement. Leave a little room around objects so the shelves remain useful rather than becoming a tightly packed display.
Wall shelves should earn their space every day. The best version adds storage without looking like an afterthought, uses materials suited to the room, and carries its load through sound joinery and properly placed fasteners. Whether you buy a modular system or commission a cabinetmaker, spend your attention on proportion, support, and finish. Those three decisions are what make a shelf look as though it grew out of the wall.

No comments yet — grab the first one.