A wall shelf is one of the simplest pieces of storage to draw and one of the easiest to get wrong. I have seen shelves that sag under a row of cookbooks, brackets installed into drywall alone, and boards so shallow that nothing useful stays on them. The better approach treats a shelf as a small cabinet project: understand the load, choose a material, locate the structure, and make the proportions suit the room.
That does not mean every shelf needs to be custom-built. A pine board from a home center can be perfectly sensible in a garage or rental. But in a finished kitchen, hallway, or living room, the details determine whether the result looks intentional or like something added after the fact.
Start with material and span
A shelf's length and depth matter more than most homeowners expect. A 36-inch board carrying paperbacks has a very different job from a 60-inch board holding pottery. Solid wood moves across its width with seasonal humidity, while plywood is more dimensionally stable. For painted work, I generally prefer a furniture-grade birch plywood core with a hardwood edge, or a stable poplar assembly when the design calls for an opaque finish.
Three-quarter-inch material is common, but it is not automatically strong enough. A long, shallow shelf can still deflect, especially when loaded with dishes or hardbound books. A thicker 1-inch or 1 1/4-inch profile gives a wall shelf visual weight and reduces flex. Another option is a torsion-box construction: two thin panels separated by an internal grid. It stays light while looking substantial, though the joinery and edge treatment require more shop time.
Edge banding deserves attention. Iron-on veneer is acceptable for temporary furniture, but a 1/8-inch solid wood lipping gives a cleaner edge and tolerates minor bumps. On a painted shelf, a properly glued hardwood edge sands flat and does not telegraph an obvious seam after primer.
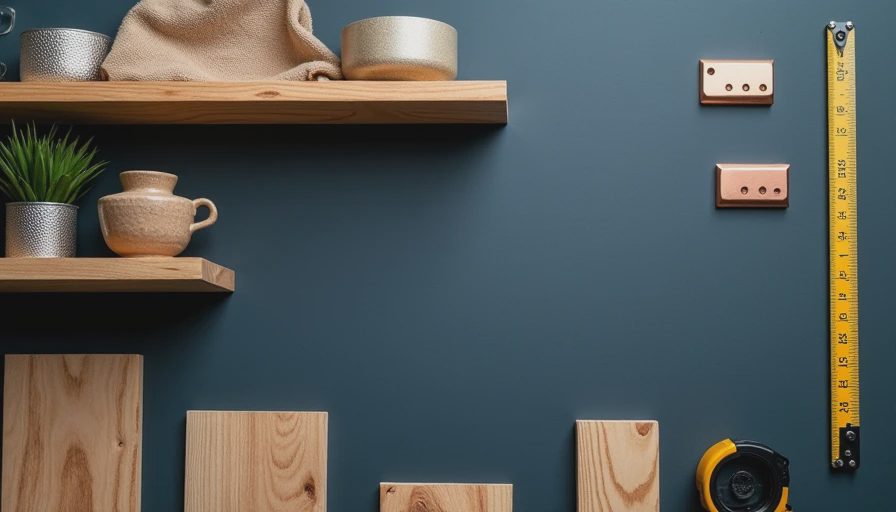
Get the proportions right
Depth should follow the objects, not a standard dimension copied from a catalog. Eight inches works for framed photographs, small ceramics, and a few paperbacks. Ten to twelve inches is more useful for books, folded towels, and pantry containers. Going deeper can make a narrow hallway feel crowded and creates a place for clutter to collect at the back.
Length also changes how a wall shelf reads. A short shelf centered over a console can look deliberate, while the same shelf floating alone on a large wall may appear undersized. Before cutting anything, tape the proposed outline on the wall. Stand at the doorway, sit in the room, and check the relationship to trim, switches, artwork, and nearby cabinetry.
Vertical spacing should be based on the tallest item you actually plan to store. For a living room arrangement, 12 to 16 inches between shelves often accommodates books and objects without leaving a useless empty band. In a kitchen, measure the canisters and serving pieces first. A drawing with dimensions is cheaper to revise than a finished board with fresh paint.
Use the room to determine the construction
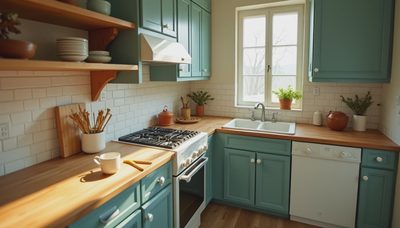
In a kitchen, a wall shelf can bridge the gap between upper cabinets and a hood, display everyday dishes, or provide a landing spot near a coffee station. Grease and steam argue for a washable finish and enough clearance from the cooktop. I prefer a shelf with a sealed top, eased front edge, and no open end grain facing the range. If the shelf sits above a counter, leave room for appliances and the hands that use them.
In a bathroom, moisture changes the specification. MDF with an unsealed edge is a poor choice near a sink. Cabinet-grade plywood with a catalyzed finish, painted hardwood, or solid maple will hold up better. A small wall shelf above a toilet should be anchored carefully and kept shallow enough that it does not become a shoulder hazard. In a mudroom, depth and load capacity matter more because baskets, hats, and bags tend to accumulate quickly.
A living room gives you more freedom, but it also exposes bad alignment. Line the shelf with a door casing, baseboard, or the edge of a built-in so it participates in the architecture. One carefully placed shelf often looks better than three unrelated pieces scattered across the wall.

Anchor it to the structure
The strongest wall shelf is attached to studs, blocking, or a continuous French cleat. A stud finder helps locate framing, but I still confirm positions with a small test hole or by measuring from a known corner. Drywall anchors have their place for light decorative loads; they are not a substitute for structural attachment when the shelf will carry books, cookware, or hardware.
A French cleat is made from two beveled strips, one fixed to the wall and one fixed to the back of the shelf or its mounting box. It spreads the load across several screws and makes a substantial shelf easier to install and remove. For a long run, I use a cleat attached with structural screws into multiple studs, then secure the shelf so it cannot lift off accidentally.
Concealed rods can produce a clean floating appearance, but the rods need enough embedment in the shelf and solid blocking behind the wall. They also create leverage: the farther the shelf projects, the more force reaches the mounting point. A decorative bracket may be the honest solution, especially when the wall framing is inconvenient. Good brackets can become part of the design rather than an apology for it.
Understand the cost before ordering
A basic wall shelf made from a prefinished board might cost $40 to $150, depending on length, edge treatment, and hardware. A painted custom shelf with a hardwood edge, concealed mounting, and sprayed finish commonly lands in the $250 to $600 range through a cabinet shop. A built-in run with multiple shelves, scribed side panels, and on-site installation can reach $1,000 to $3,000 or more.
The price difference is mostly labor and preparation, not just wood. Someone has to measure the wall, account for crooked corners, mill the parts, fill and sand the edges, apply primer, spray finish coats, and return for installation. A shelf that fits between two walls may need to be scribed because few houses have perfectly square openings. That fitting work is what makes the piece look attached to the house rather than parked against it.
I would spend money first on sound mounting and a durable finish. Fancy species or brass hardware comes later. A well-installed painted shelf in maple or birch plywood will usually serve a room better than an expensive walnut board attached with inadequate anchors.
Finish the details that hands notice
Ease the front corners slightly rather than leaving a sharp machine edge. A 1/16-inch roundover is enough to catch light and prevent a painful corner. Sanding should progress evenly; deep cross-grain scratches often reappear after stain or paint. For painted work, use a quality bonding primer and sand between coats. For clear finishes, test the color on an offcut because maple, oak, walnut, and birch all respond differently.
Keep the top surface easy to clean, particularly in kitchens and bathrooms. A waterborne polyurethane can provide a clear, low-odor finish for many residential applications, while a professional conversion varnish offers stronger resistance when a shop has the equipment and ventilation to apply it correctly. Do not use an unsealed shelf where standing water is likely.
A wall shelf earns its place when it solves a specific storage problem and respects the lines around it. Measure the objects, find the framing, choose the edge profile, and draw the mounting method before buying lumber. If the shelf is part of a larger renovation, coordinate its height and finish with the room's doors, cabinets, and trim. That small amount of planning is what turns a board on a wall into cabinetry that looks as though it grew there.



No comments yet — grab the first one.