A wall attached shelf can look like a simple board with two hidden screws, but the reliable version involves more decisions than most store-bought examples reveal. You need to account for the wall structure, shelf depth, material, load, edge treatment, and the way the shelf meets nearby trim. Get those details right and the result looks intentional. Get them wrong and the shelf sags, pulls loose, or makes an otherwise finished room look temporary.
I have installed plenty of open shelving in kitchens, offices, mudrooms, and living rooms. The most useful question is not simply where to put a wall attached shelf. It is what the shelf must carry, how often it will be used, and whether it should read as furniture or as part of the architecture. A shelf for framed photographs has a different construction from one holding stoneware, cookbooks, or a compact microwave.
Start with the Wall, Not the Lumber
Before cutting a board, locate the studs. In typical drywall construction, studs are spaced 16 inches on center, though older homes and unusual framing can differ. A magnetic stud finder can locate drywall fasteners, and a small test hole confirms the position. Do not rely on drywall anchors alone for a deep shelf carrying dishes or books. Anchors are useful for light objects, but they are not a substitute for structural attachment.
A wall attached shelf should ideally fasten into at least two studs when its length and expected load allow it. For masonry, plaster over lath, or tile, the attachment method changes. Concrete requires the right masonry bit and anchor; tile requires careful drilling and a suitable plug behind the finished surface. If you cannot reach a stud, use a rated toggle or sleeve anchor based on the actual wall material and load, not an optimistic package label.
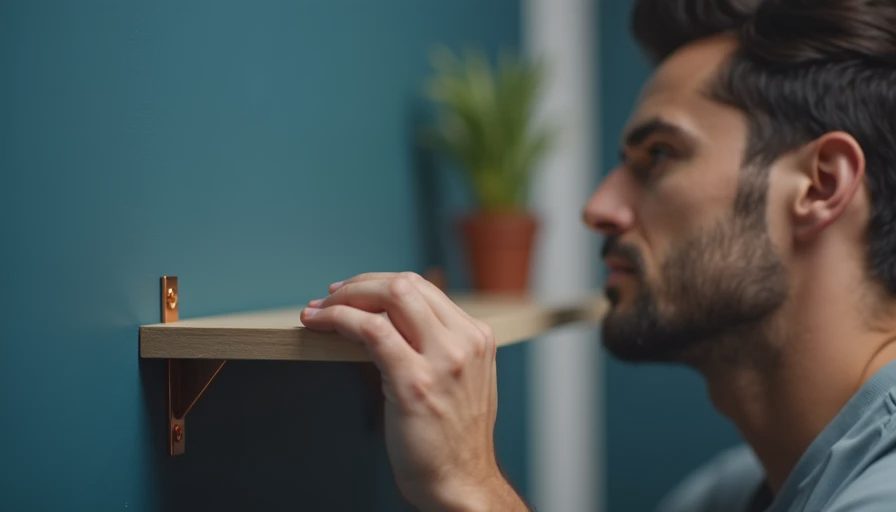
I also check for electrical cables and plumbing before drilling. A shelf installation rarely needs many holes, so there is no reason to rush this step. Mark the shelf location with painter's tape, draw a level line, and measure from a fixed reference such as the countertop or floor. Small errors become obvious when several shelves are stacked together.
Choose a Material That Will Stay Straight
Solid hardwood is attractive, but a wide solid board can move across its width as humidity changes. In a Seattle house, that movement is not theoretical. A 10-inch-wide oak shelf can expand and contract enough to affect a tight fit against a side wall. I often use a stable plywood core with a hardwood or veneer face when the shelf is wide, long, or close to painted cabinetry.
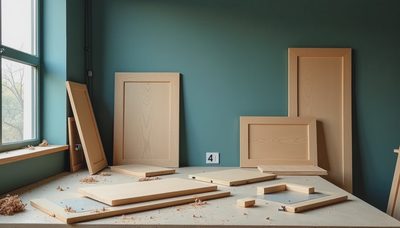
Three-quarter-inch maple plywood with a hardwood front edge is a dependable starting point for many rooms. Birch plywood offers a clean, uniform face for paint or clear finish. Cabinet-grade prefinished plywood reduces finishing work, while furniture-grade hardwood plywood gives better veneer matching than construction panels. MDF works well for painted shelves because it is flat and machines cleanly, but it needs sealed edges and careful support because it is heavy and less tolerant of moisture.
For a wall attached shelf longer than about 36 inches, I think about stiffness before appearance. A solid 1-inch oak board may perform well at a moderate depth, while a 3/4-inch plywood shelf loaded with hardback books may need a front nosing, underside stiffener, or closer support spacing. A square hardwood edge, usually 1 to 1 1/4 inches tall, adds stiffness and gives the shelf a substantial profile without making the entire panel thick.
Set Dimensions Around the Objects
Shelf depth should follow the contents. A display shelf may need only 6 to 8 inches. Books usually work better at 9 to 11 inches, while dinnerware and small appliances can require 12 to 16 inches. Going deeper is not automatically better. A deep shelf in a hallway becomes a shoulder-level hazard, and a deep shelf above a desk can make the work surface feel enclosed.
A useful wall attached shelf also needs clearance above it. For books, measure the tallest book you expect to store and add roughly 2 inches. For framed art, leave enough room to lift the frame away from the wall. In a kitchen, allow space to remove a mixing bowl or coffee maker without scraping the underside of the shelf above. These are small measurements, but they determine whether the installation feels easy to live with.
When designing multiple shelves, I avoid making every opening identical unless the contents truly match. A 12-inch opening for cookbooks, an 8-inch opening for small ceramics, and a wider opening for a plant or framed print usually make better use of the wall. Symmetry still matters, but useful symmetry is more valuable than a rigid grid.
Hardware Makes the Difference
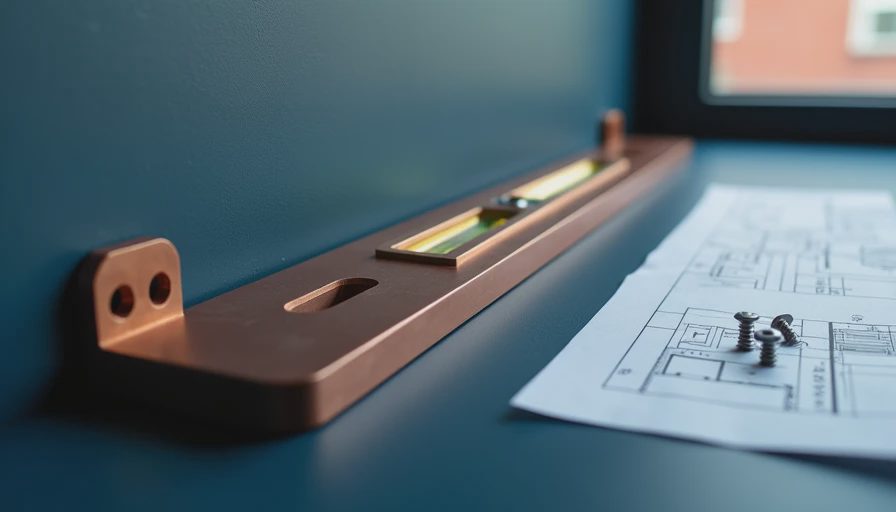
Floating brackets are clean, but they are not magic. The metal rods must enter a properly reinforced shelf, and the bracket plate must attach to framing or an adequately rated anchor. For a shelf carrying books, I prefer a steel floating bracket with rods extending well into the shelf rather than a short decorative pin. The bracket should have a published load rating, but that rating only applies when installed in the specified substrate and spacing.
A wall attached shelf can also use a visible cleat or side brackets. A hardwood French cleat is especially effective for a heavier shelf or a long run. It spreads the load across the wall, makes installation easier, and can be concealed behind a deeper front edge. Side supports are honest and often visually appropriate in a pantry, workshop, or utility room. Hidden hardware is not automatically superior; it is simply a different design choice with tighter installation requirements.
Do not skip the test fit. Install the bracket, place the empty shelf, and check for level from several angles. Then add weight gradually. If the front edge drops, the shelf is too flexible, the supports are too far apart, or the attachment is not doing its job. Correct that before loading the shelf with anything breakable.
Finish and Edge Details Matter
The front edge is the part people see and touch most often. A solid hardwood lipping hides plywood layers and protects the edge from knocks. A small eased corner feels better than a razor-sharp edge, especially on a shelf near a walkway. For a painted project, filled and sanded MDF can look excellent, but the end grain must be sealed before primer.
For clear finishes, two or three coats of water-based polyurethane preserve a light wood color and dry quickly. Hardwax oil gives a softer, more repairable appearance, though it still needs proper surface preparation and regular care. In kitchens and bathrooms, I prefer a finish suited to moisture and frequent wiping rather than an overly delicate decorative coating.
Match the finish to the existing room. A walnut shelf beside painted maple cabinets should either repeat the walnut deliberately or provide a clear contrast. A close-but-not-quite match often looks accidental. Sample boards are cheap compared with remaking an installed shelf, so test stain, topcoat, and lighting together before committing.
Cost, Scope, and the Better Build
A basic pine shelf with exposed brackets might cost $40 to $100 in materials. A painted plywood shelf with hardwood edging and concealed hardware commonly lands around $150 to $350 in materials for a modest installation. Custom millwork costs more because the price includes accurate site measuring, shop fabrication, finishing, templates, and installation. A small custom run can easily begin around $600 and rise from there as length, material, and wall conditions become more demanding.
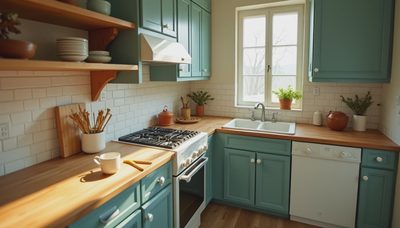
That cost difference buys more than a nicer board. It buys a shelf that accounts for crooked walls, uneven corners, trim returns, electrical locations, and the visual line of the room. IKEA and ready-made systems have a sensible place when the dimensions work and the load is light. Custom work becomes worthwhile when the shelf needs to align with cabinets, continue around a corner, conceal hardware, or fill an awkward opening.
Before ordering, write down the wall width, desired depth, shelf count, material, finish, contents, and attachment points. Photograph nearby trim and outlets. If the shelf will carry heavy dishes or books, state that plainly rather than describing it as general storage. That short brief prevents most expensive misunderstandings and makes it easier to compare a kit, a carpenter-built solution, and a full custom installation.
A well-made wall attached shelf should disappear into the room as a piece of useful architecture. The board, bracket, and finish are only the visible parts. The real work is in matching the construction to the wall, the load, and the habits of the people using it. Start with those facts, and the design will usually become simpler, stronger, and better looking.



No comments yet — grab the first one.