If you want to know how to paint kitchen cabinets without ending up with peeling corners, visible brush marks, or doors that no longer close properly, start with the prep. Paint is the visible part of the job, but surface preparation and curing time determine whether the finish survives coffee spills, greasy hands, and a decade of opening and closing.
I have refinished plenty of cabinets in working homes, and the same rule holds every time: slow down before the first coat. A $75 gallon of quality cabinet enamel cannot rescue a greasy surface, loose veneer, or a door painted while it is still hanging on the hinges. Set aside a clean work area, label every part, and expect the project to take several days rather than one ambitious Saturday.
Decide whether the cabinets are worth painting
Paint is a sensible upgrade when the boxes are square, the doors are structurally sound, and the existing layout works. Oak, maple, birch plywood, MDF, and previously painted cabinets can all produce good results with the correct primer. Paint will not repair swollen particleboard, failing thermofoil, water-damaged sink bases, or hinges that have torn out of weak material.
Before learning how to paint kitchen cabinets, inspect the doors from every angle. Look for cracked joints, chipped edges, bubbling laminate, and old repairs. A solid wood door with a stable frame is a strong candidate. A cabinet with loose dados or a sink base that has absorbed water might cost less to replace than to restore. If the layout is fundamentally wrong, new paint only makes an inconvenient kitchen look newer.
Remove knobs, pulls, hinges, doors, and drawer fronts. Put each hinge and screw in a labeled bag, and mark the back of every door with painter's tape. A simple numbering system prevents the familiar end-of-project problem of a drawer that fits one opening but not another.

Clean, repair, and sand the surfaces
Kitchen cabinets carry more residue than most homeowners expect. Use a degreaser appropriate for the existing finish, then rinse with clean water and allow everything to dry. Krud Kutter and a diluted dish soap solution are common choices, but the important part is removing cooking oil rather than merely spreading it around. Pay special attention to the area above the range, the cabinet rail beneath the sink, and the edges around pulls.
Fill dents and old hardware holes with a paintable two-part filler or quality wood filler. Let it harden fully, then sand it flush. For oak, remember that a thin coat of paint will not erase the deep open grain. Use a high-build primer and additional filler if you want a smoother look; otherwise, the texture will remain visible under the finished color.
Sand glossy surfaces with 120- to 150-grit paper, followed by 180-grit for a more uniform profile. You are not trying to remove every bit of old coating. You are creating a clean, dull surface that gives primer something to grip. Vacuum the dust, wipe with a lint-free cloth, and keep the work area free of sawdust. A tack cloth can leave residue if used aggressively, so a careful vacuum and clean damp cloth are often better.
Choose the right primer and paint
Primer selection depends on what is underneath. For bare wood, a bonding or stain-blocking primer handles tannins, knots, and uneven absorption. For laminate or a slick factory coating, choose a dedicated adhesion primer. Shellac-based products block stubborn stains very well, while waterborne bonding primers are easier to clean up and usually more comfortable in an occupied home.
When considering how to paint kitchen cabinets, buy cabinet enamel rather than ordinary wall paint. Products such as Benjamin Moore Advance, Sherwin-Williams Emerald Urethane Trim Enamel, and Behr Cabinet, Door and Trim Enamel are formulated for harder, more washable finishes. Read the label for recoat times and recommended application temperature. A beautiful coat applied in a cold garage can remain soft much longer than expected.
Satin and semi-gloss are practical choices. Satin hides minor surface defects and gives a restrained furniture finish. Semi-gloss reflects more light and wipes clean easily, but it exposes sanding scratches and uneven filler. Deep colors can look excellent, though they show dust and edge damage sooner than a warm white, muted green, or medium blue.
Apply the finish without making a mess
Spraying produces the most uniform result, especially on shaker doors and slab fronts, but it requires masking, ventilation, practice, and proper cleanup. An airless or HVLP sprayer can put too much material on an edge if you move slowly. Test on cardboard first, maintain a consistent distance, and make several light passes instead of one heavy pass.
A high-quality microfiber mini roller followed by a good synthetic brush is more forgiving for many homeowners. Roll broad flat areas, then lightly tip off the surface with the brush while the paint is wet. Do not keep working paint after it begins to set. That is how smooth cabinets acquire drag marks and ridges.
For doors, paint the back first, allow it to dry, then paint the front. Set them on painter's pyramids or clean supports so air can reach the edges. Paint rails and stiles with controlled strokes, watching corners for drips. Two thin finish coats usually outperform one thick coat. Lightly scuff between coats with fine sanding paper only after the manufacturer says the surface is ready.
Respect drying and curing time
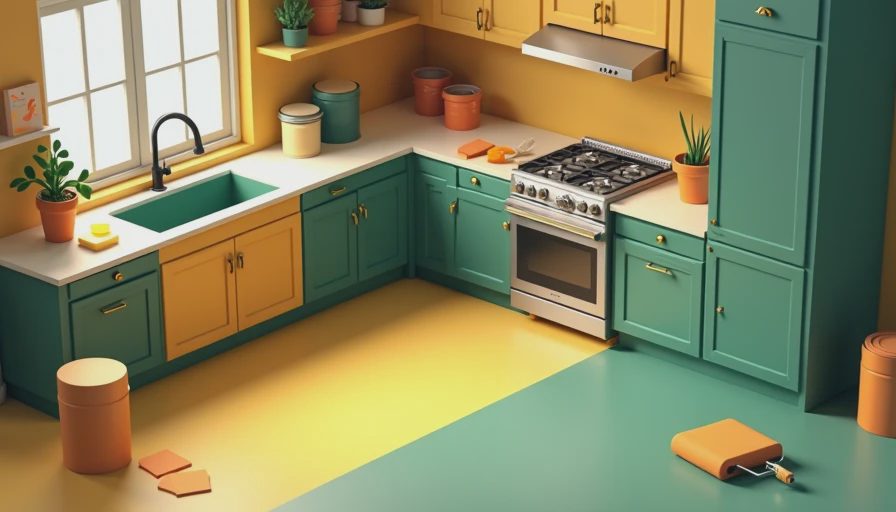
Dry to the touch does not mean fully cured. Many cabinet enamels can be recoated after several hours, but they need days or even a few weeks to reach their final hardness. Reinstalling doors too soon can mark the finish where hinges meet the cabinet face frame. Closing a freshly painted drawer can also create a permanent bond between two surfaces.
Plan the kitchen around the work. Keep doors off the cabinets overnight, use temporary handles if necessary, and avoid wiping the new finish with cleaner during the early curing period. If you have children, pets, or a busy cooking routine, a separate room or temporary folding table makes the schedule easier to manage.
Common mistakes that cost more than better materials
The most expensive shortcuts are usually skipping degreasing, painting over glossy surfaces, failing to seal tannin bleed, and applying a heavy coat to hide a defect. Another common error is sanding between coats but leaving dust in the corners. That grit becomes part of the finish and is especially obvious on dark colors.
Do not paint hinges or bury adjustment screws in enamel. Replace worn bumpers after the paint cures, and inspect drawer slides before reinstalling fronts. If the old hardware is dated but functional, new pulls with the same hole spacing can change the appearance without drilling unnecessary holes. A full set of 25 knobs and pulls might cost $100 to $500, while correcting misaligned new holes can involve filling, repainting, and frustration.
When repainting is the wrong investment
Learning how to paint kitchen cabinets is useful, but paint is not a universal substitute for new cabinetry. If the boxes are made from water-damaged particleboard, if the doors are warped, or if storage needs have changed, replacement may provide better value. Semi-custom cabinet doors can sometimes refresh a sound cabinet box, while a local cabinetmaker can build replacement fronts in paint-grade maple or MDF.
For a small kitchen with durable existing boxes, a careful DIY repaint might use $200 to $600 in primer, enamel, abrasives, masking materials, and hardware. Professional spray finishing commonly costs more because it includes removal, labeling, shop space, transport, repairs, and controlled application. That cost buys consistency and saves the homeowner from living beside a temporary finishing station.
The practical answer to how to paint kitchen cabinets is straightforward: inspect first, clean harder than seems necessary, repair the substrate, prime for the material, apply thin coats, and wait for the finish to cure. Do those steps in order, and paint can extend the useful life of a sound kitchen while giving the room a substantially different character.



No comments yet — grab the first one.